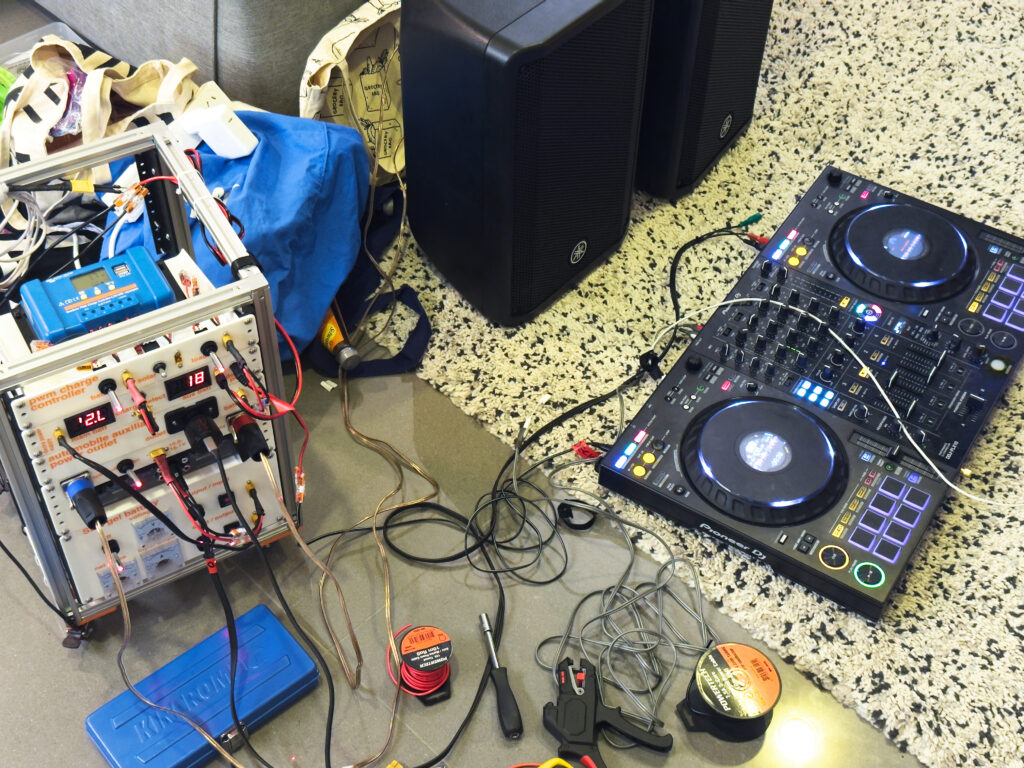
What’s one to do when you want to play a DJ set but you don’t have a power point? Here’s some photos of a initial build of a solar powered speaker amplifier and Pioneer FLX-10 power supply 8U mini rack!
The obvious answer would be Bluetti / Ecoflow / Anker style portable power station to plug in the DJ decks and an efficient music amplifier for PA speakers – but these power stations aren’t cheap.
My Pioneer DDJ-FLX10 DJ decks take a 12 volt input rather than mains power, which opens up another DIY option – using a cheap lead acid battery, T-slot 2020 aluminium extrusions and 3D printed 10 inch rack units!
Here’s some photos of previous iterations and this build. I’m no electrical engineer – constructive feedback or ideas are welcome! Add a comment at the bottom of this page, reply on Mastodon (@2700kelvin@mastodon.social) or email me.
Subscribe to 2700kelvin mailing list
No spam, infrequent emails (only when I make a new blog post).
Previous iterations
Car battery + Leipai amp + Victron PWM
The very first iteration was essentially a Lepai LP-2020A+ connected to a car battery to power some wooden bookshelf speakers, and a DC-DC converter to output a perfectly steady 12 volts for the decks. Adding a basic PWM solar charger and a portable solar panel extends the run time, sometimes indefinitely!
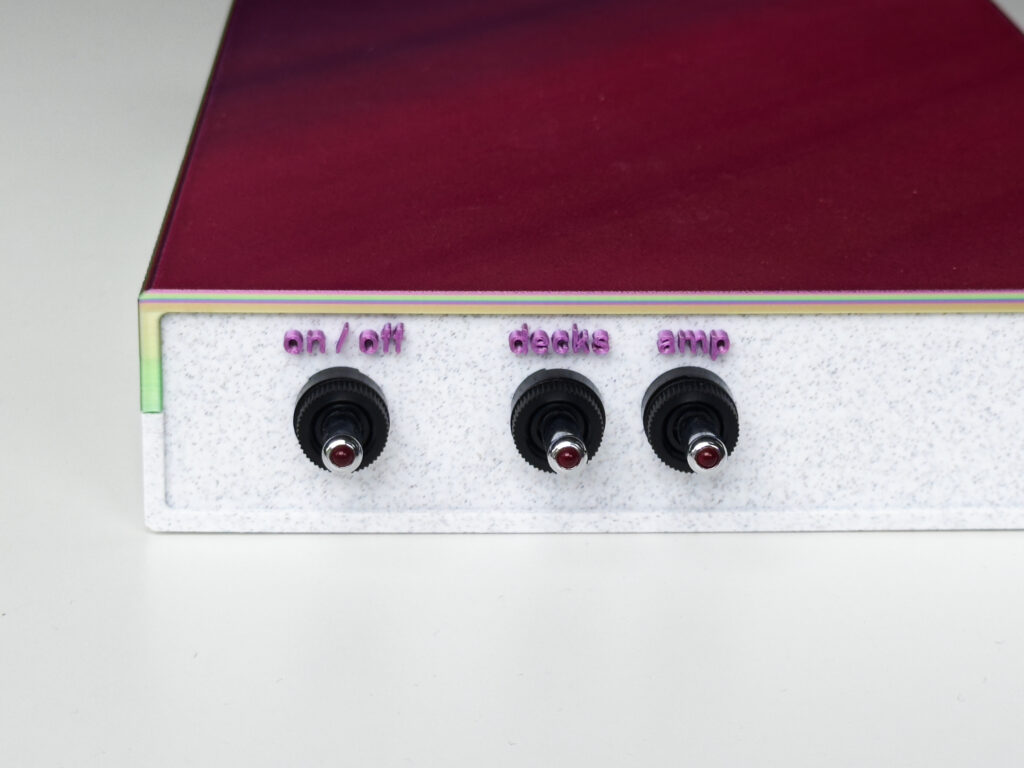
I chose XT60 connectors as they are way over specced (60 amps) but have a more sold/reliable connection than DC barrel jacks in high-vibration environments (eg. on a boat). LED illuminated switches indicate when switches are on or off in dark environments.
Upgrading the amp
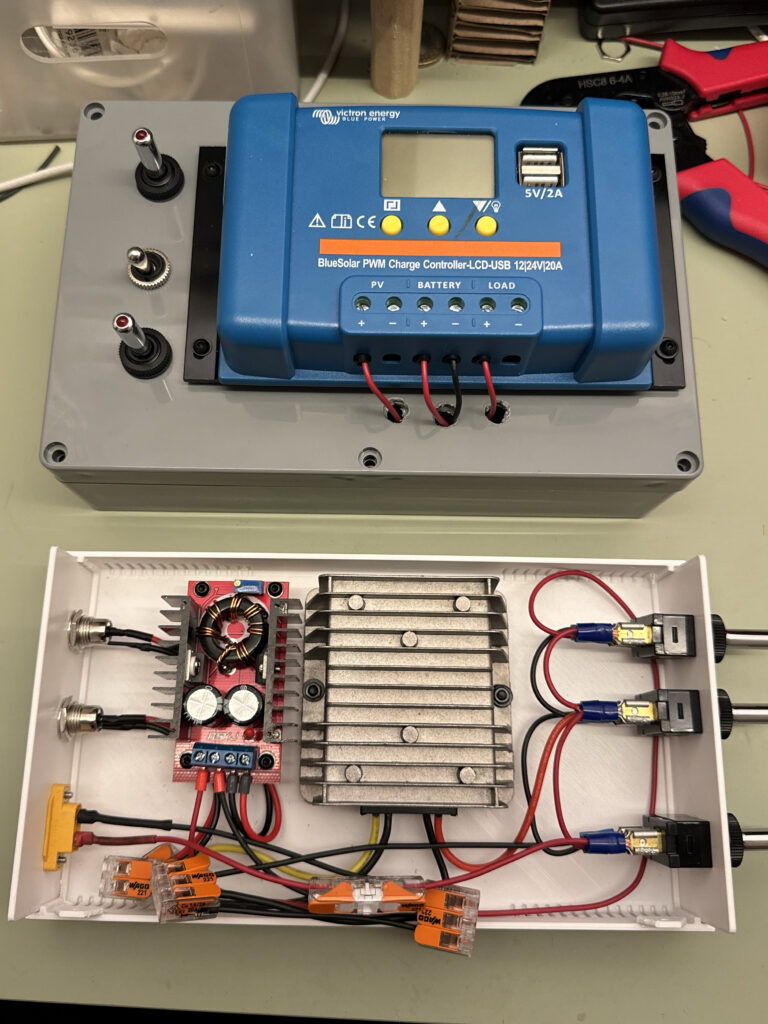
The Leipai is only a 20W per-channel amp powering low-efficiency speakers – so I bought a more powerful Fosi amp (which also served home listening). These amps need a higher DC voltage to work well, so I tried out a bare PCB DC-DC boost converter (pictured above). This struggled to keep a steady voltage during bass-heavy beats, so I got a beefier potted DC-DC buck/boost converter. I 3d printed a nice case with ventilation which fit in the 19″ 1U rack slot in the road case for the decks.
You may recognise this case as being generated by the Ultimate Box Maker parametric OpenSCAD design. I wrote some OpenSCAD code for the XT60 and switch ports, along with mounting points for the DC converters.

Two batteries to fix crashing decks
This basic setup has run many great parties on boats and rooftops…

…but an extremely annoying flaw still occurred: turn up the bass too high (or accidentally keep the bass EQ up for two songs during a transition!) and the amplifier would overwhelm the DC-DC boost converter, and the voltage would dip into the decks power supply – and the decks would crash and shut down. Not good!
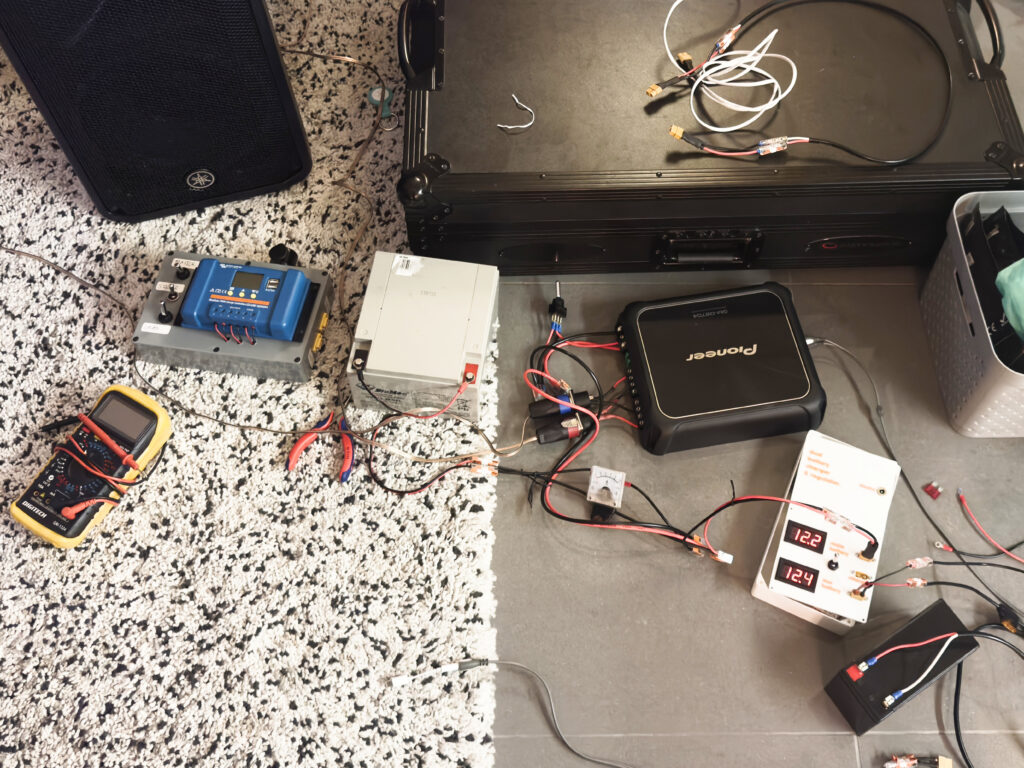
To ensure under no amount of load (or low battery) could crash the decks, I added a second SLA battery I had handy to power the DC-DC buck boost converter power supply, with two PCB diodes (avoiding the 0.6v silicon forward voltage drop) taking the highest voltage – filling in the voltage troughs during heavy bass notes and enabling long run times. I needed a DPDT switch and inputs/outputs to change which battery the Victron PWM solar charger was supplying.
After this point I used Autodesk Fusion for CAD.
A car amplifier
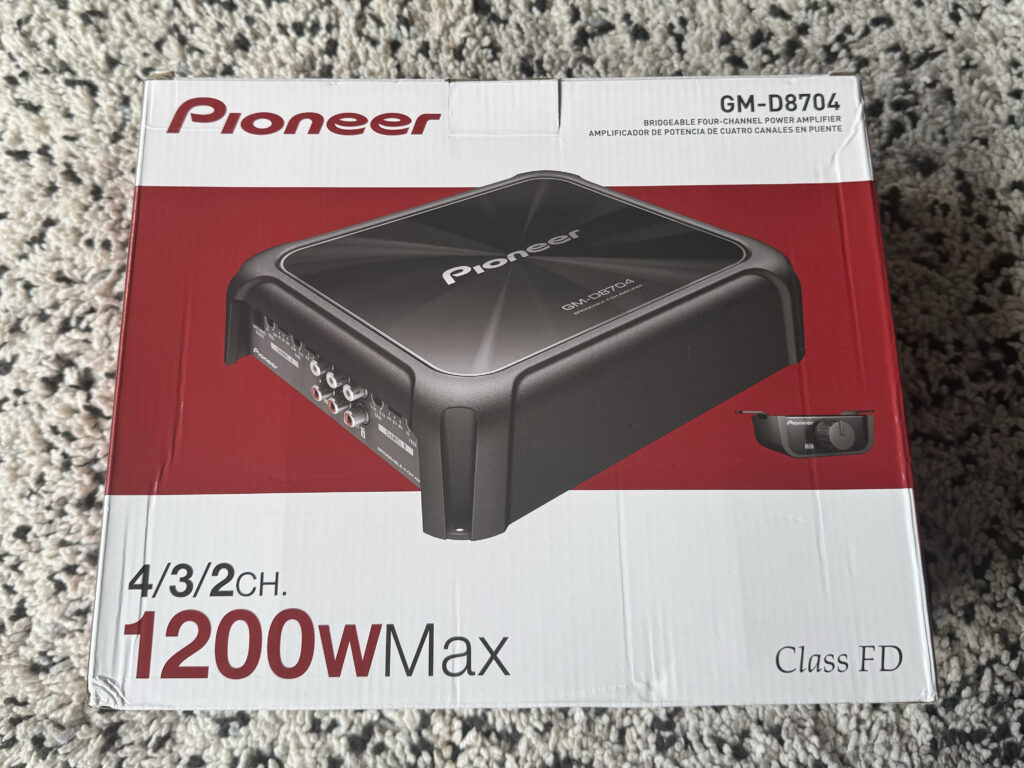
This setup still quickly discharged batteries and distortion at high volumes. I needed a more powerful amplifier and a 12v power supply matched to it. I also needed more efficient speakers than my budget wooden bookshelves – and importantly, some better water resistance and durability for the outdoors! The choice was obvious – why not use a beefy car amp and high efficiency speakers?
Cars usually speakers for the front and rear seats – so there’s even 2 spare channels on the amp if I wanted to run booth monitors or more speakers!
Unfortunately this car amp is just taller than the 1U 19″ rack clearance in the road case for the decks. The setup was getting messier and more fragile to transport and setup. There were too many interconnected components which needed setup and packdown each time.

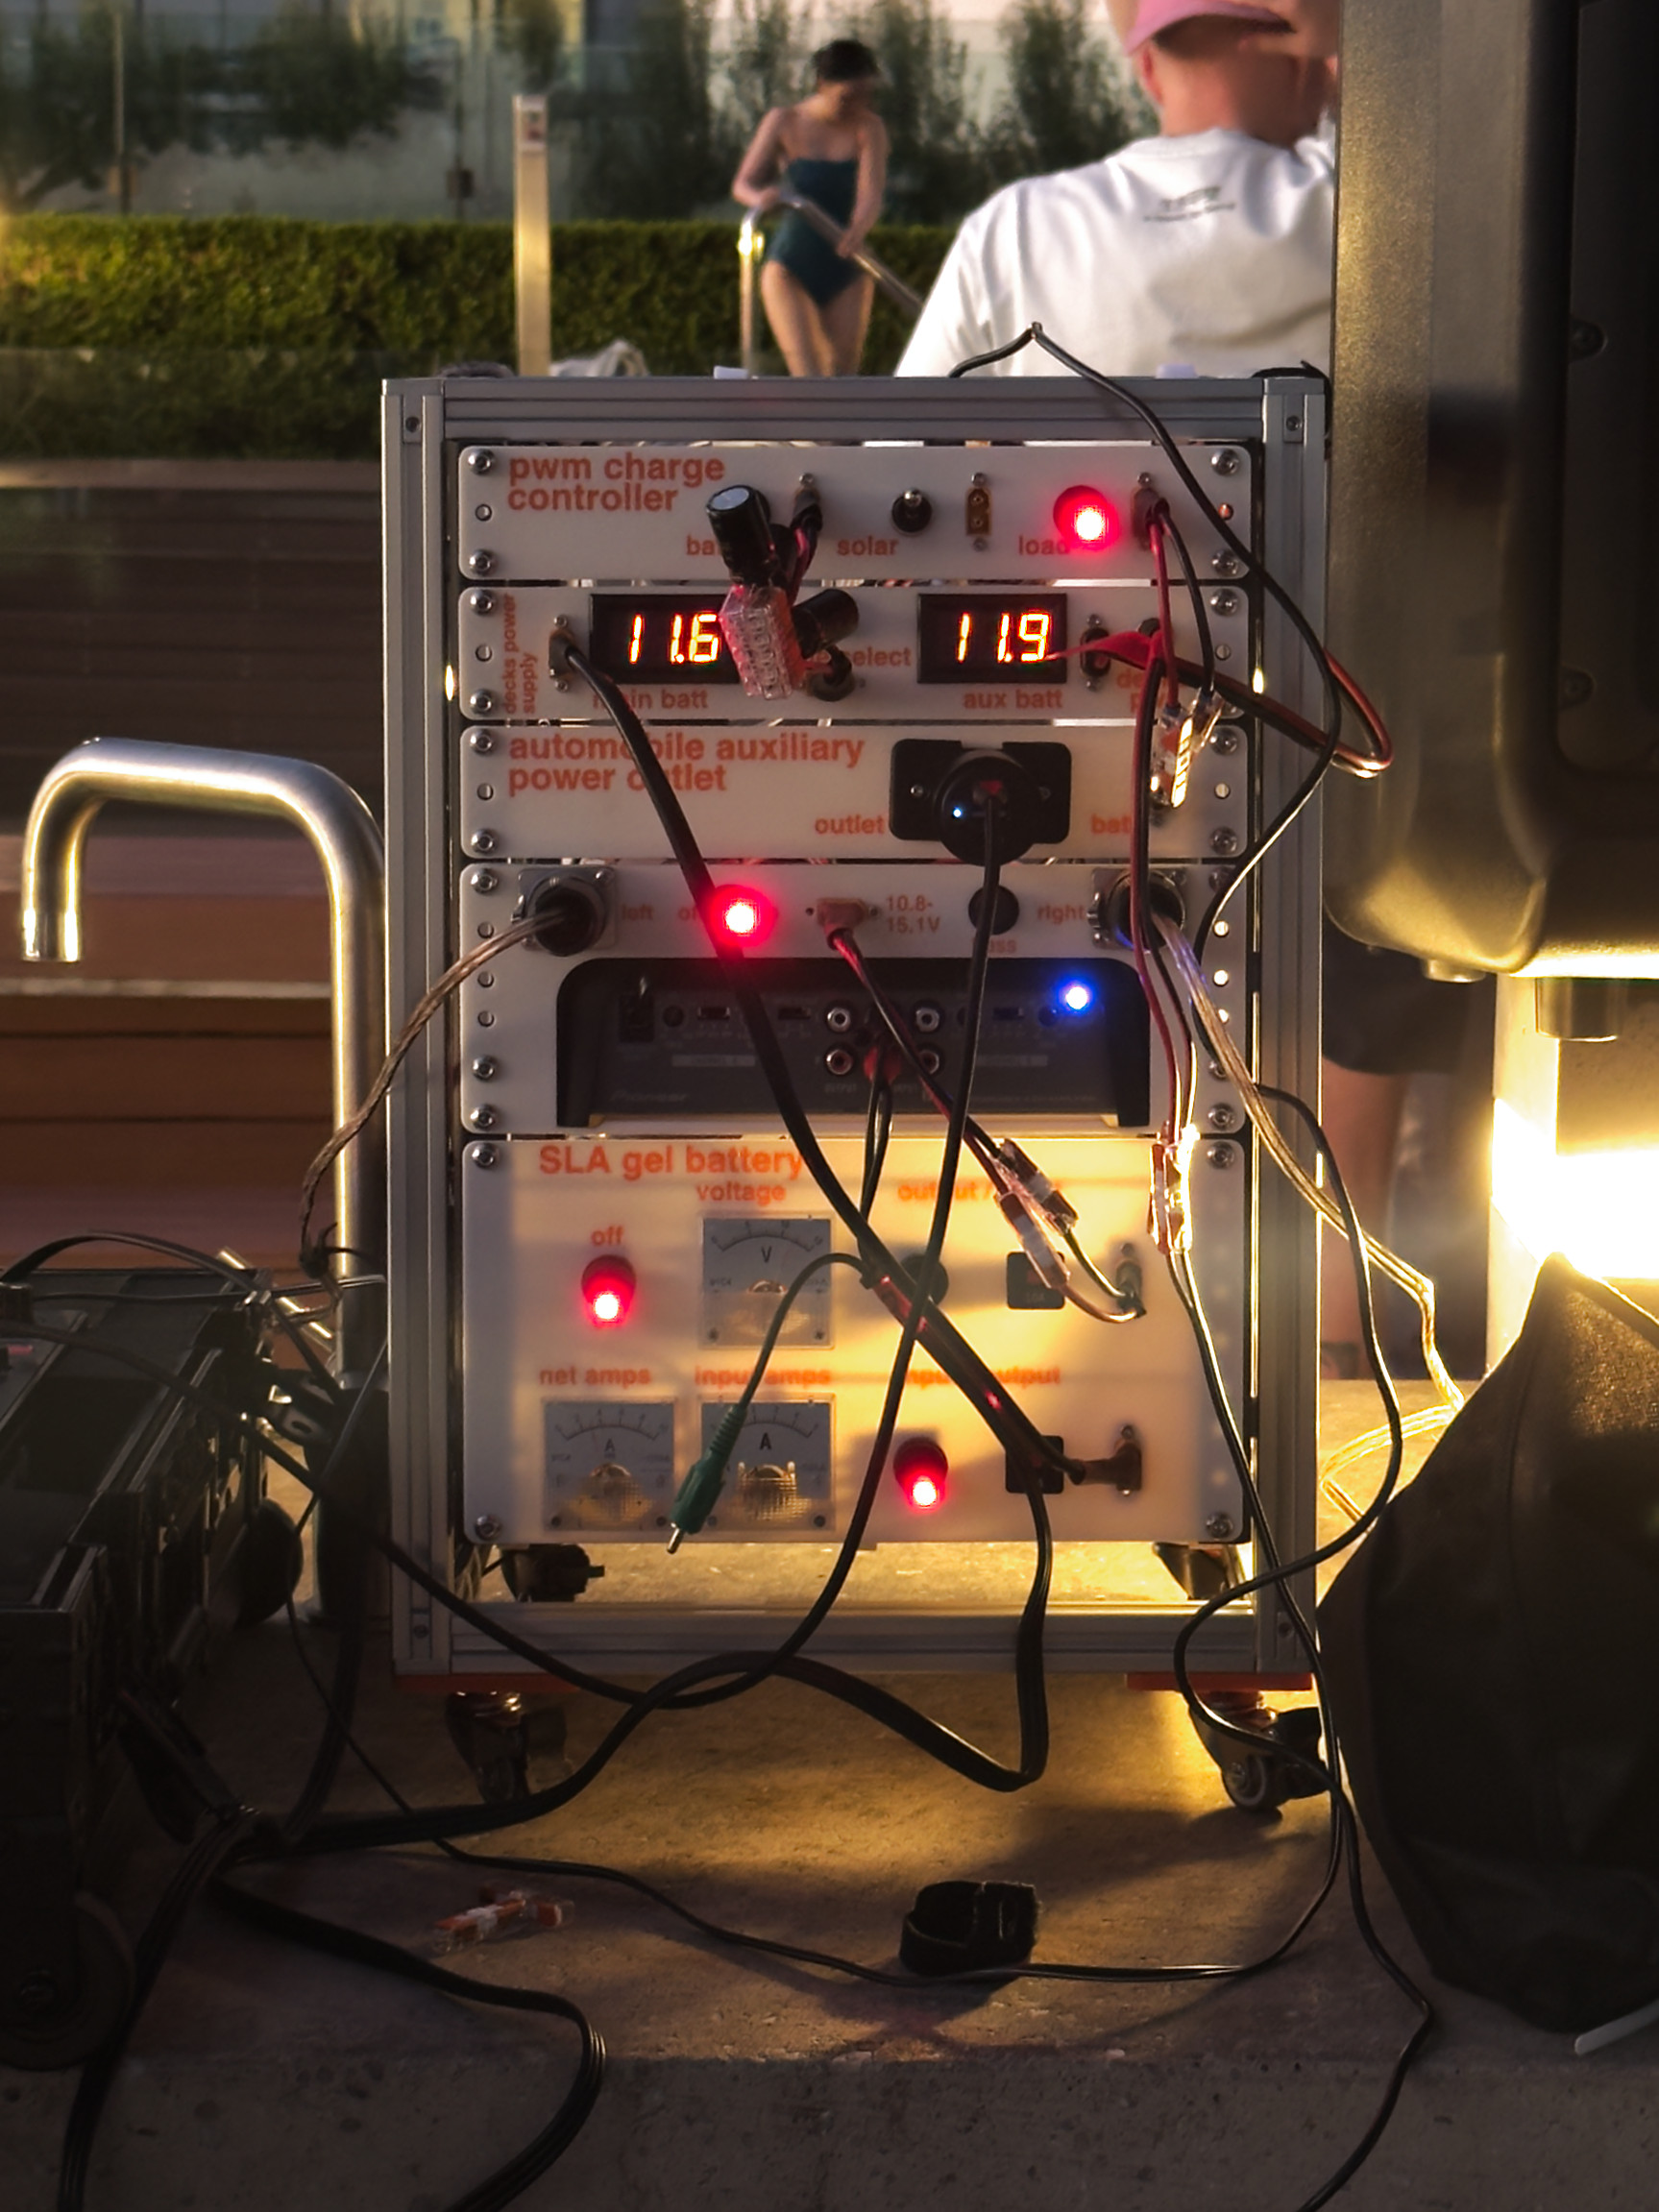
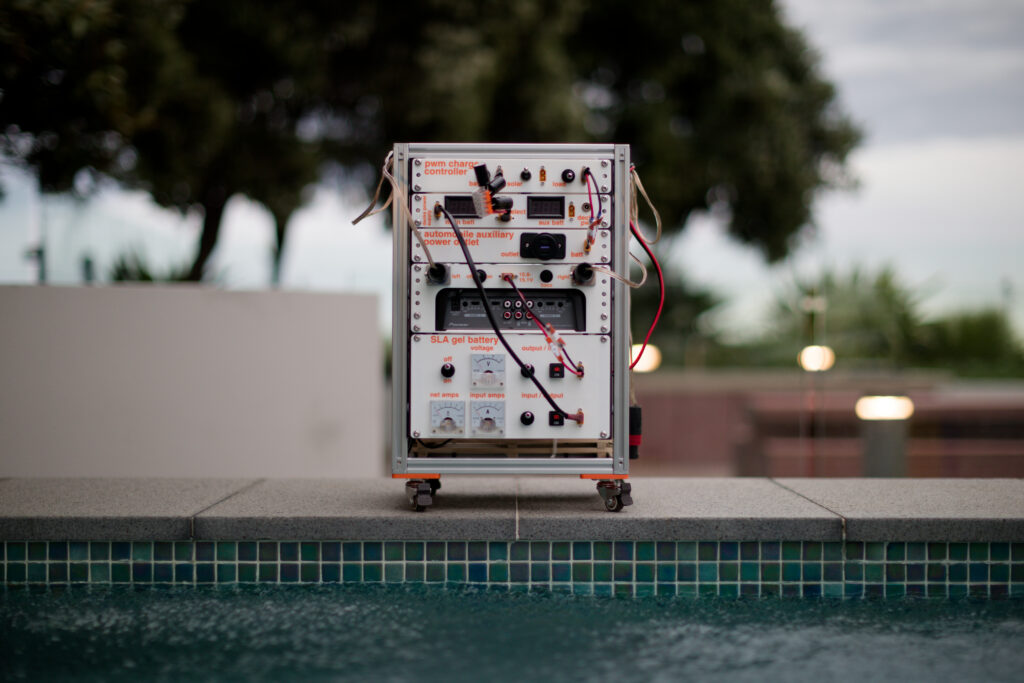
The current mini rack build
Prototypes
Too many small and interconnected parts – a perfect problem for a small 10″ mini rack!
The 10 inch rack standard has been around for some time but was popularised recently by Jeff Geerling. His site for the standard is an excellent read with many fascinating build examples: https://mini-rack.jeffgeerling.com
I first dipped my toes in by printing some 2020 extrusions to test the dimensions with threaded rails – out of PETG with inconvenient layer lines!
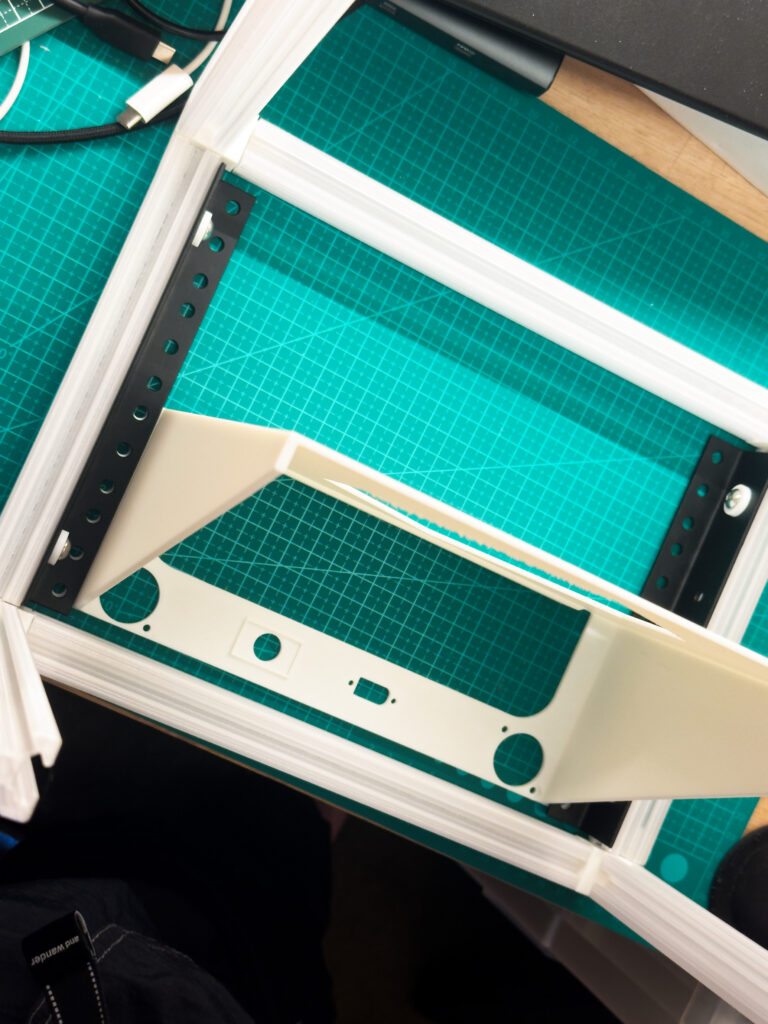
Design and assembly
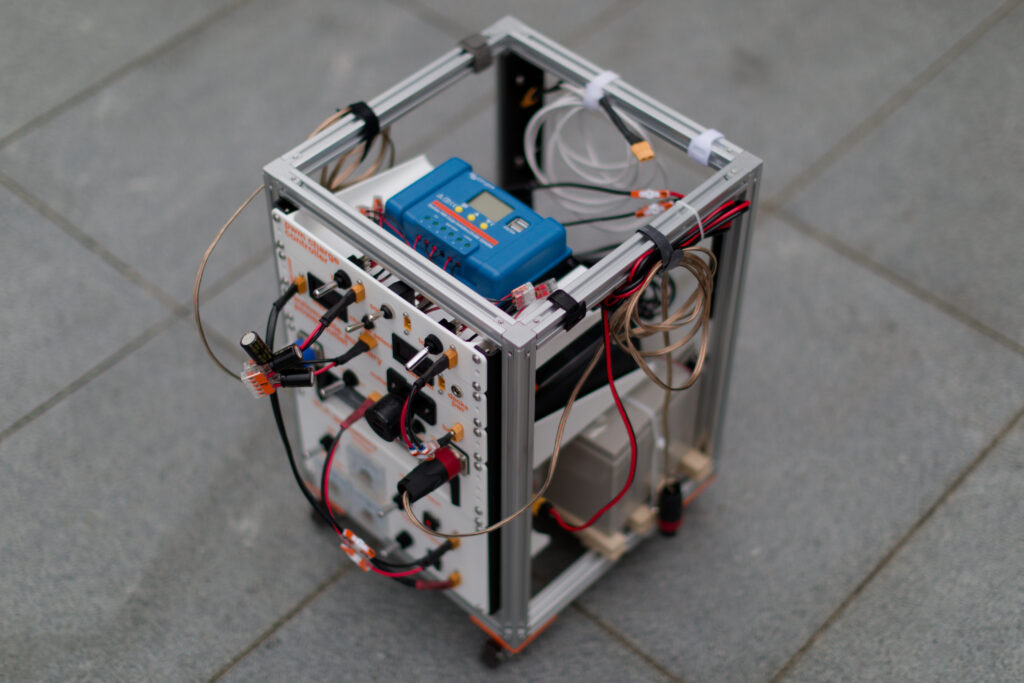
I bought some pre-cut 2020 aluminium extrusions from RM Components (Melbourne) and some metal corner joints. Some lockable miniature caster wheels make it easy to transport – the two SLA batteries aren’t light.
It certainly needs a lot more work, but it’s really nice being able to progressively improve each rack unit independently. There’s also 4U rails on the rear for further additions. As mentioned in my previous post I’ve built some low cost Rekordbox lighting controlled DMX fixtures using an Arduino shield and some WS2812 led strips, so perhaps I can make that a more mobile setup.
In hindsight, perhaps I didn’t need the threaded rails in addition to the 2020 extrusion!
Why lead acid batteries? Because they won’t explode / catch on fire like LiPo’s if roughly handled or under challenging heat and moisture conditions, and are cheaper than LiFePO4 batteries. Weight isn’t really a constraint for this project. Perhaps I should try a LiFePO4 battery and MPPT charger one day. Adding a 12v fridge would be fun!
There’s definitely still a few flaws and potential improvements:
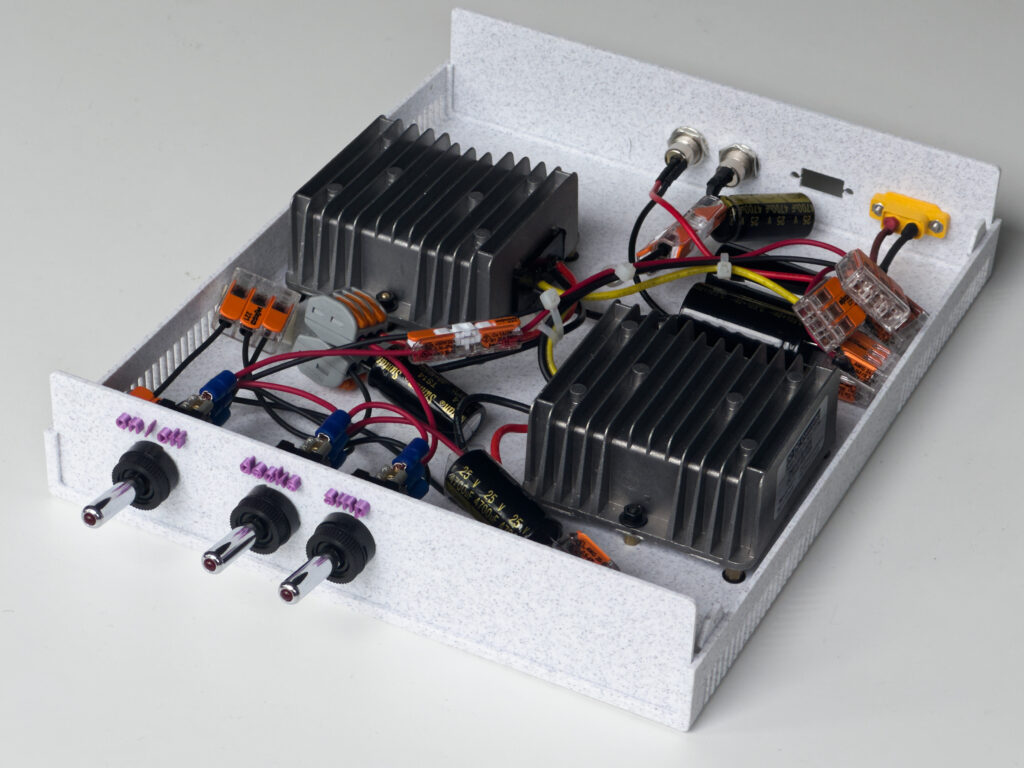
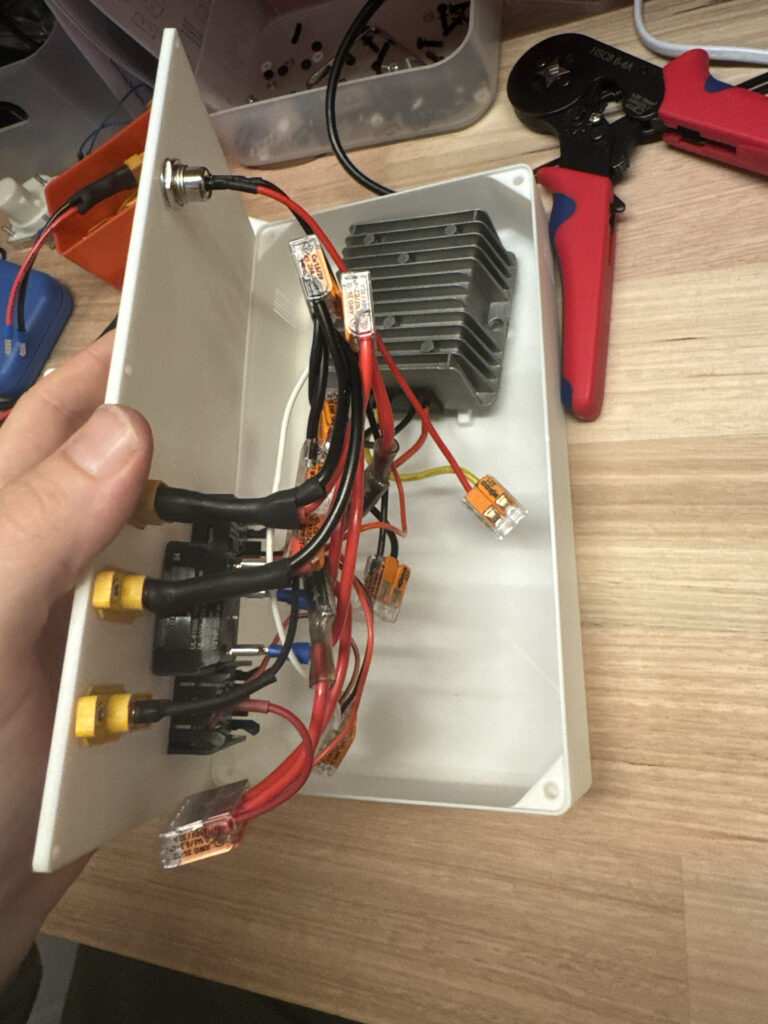
- Half way through the first party after completing the initial rack build I found the Victron PWM solar charging caused buzzing in the speakers, I assume because of the PWM frequency operating in the audible range. A couple of big electrolytic capacitors into some 5-way WAGOs on the input/output seemed to solve this!
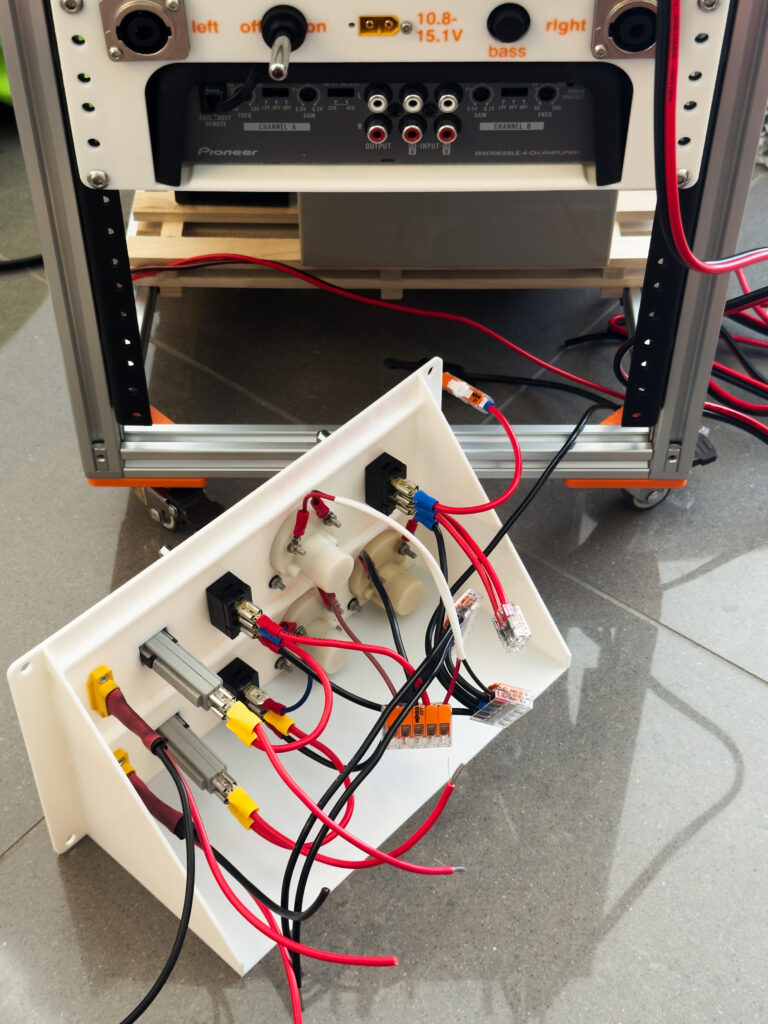
- I didn’t have any male panel mount XT60 inputs, so it’s easy to accidentally plug two inputs into each other (I’ve fused each battery and both battery terminals on the front panel to avoid damage from any mistakes/failures)
- The switcher to choose which battery is being charged is a simple DPDT switch. I’m always careful to shut off the charge controller before flipping this, but it probably needs to be more idiot-proof.
- It’s already a hot October in Australia and the lead acid batteries are exposed to the sun – I could clad the sides/back in cheap solar cells to provide provide shade / trickle charge / run fans
- Estimating SLA battery capacity under variable load isn’t trivial. Perhaps I could integrate watts over time with a microcontroller, run a tiny Home Assistant server, or just send off readings via a Meshtastic radio to be stored/processed elsewhere
- I’m unsure how the PLA will handle all day heat or how hot the components get, though I haven’t seen any deformation so far.
- I need to investigate shutdown under heavy volumes/load (not easy to test) with an oscilloscope to figure out exactly what is causing the decks to shutdown – perhaps this is no longer necessary with the Pioneer amp.
- Perhaps I can mount some panels either horizontally in the 19″ 1U rack slot in the road case or vertically at the rear.
- It needs a roof to handle light rain!
Here’s to more parties!

Current component list
- Frame
- 2020 T slot aluminium extrusion and metal corner pieces
- 2x 8U Rack Strip Tapped to 10/32 UNF (front)
- 2x4U rack strips (rails) (back)
- 4x miniature caster wheels and 3d printed mounts
- 2U amplifier
- Amplifier Pioneer GM-D8704 amplifier
- 2x Speakon (locking) speaker plugs
- mount for Pioneer bass dial
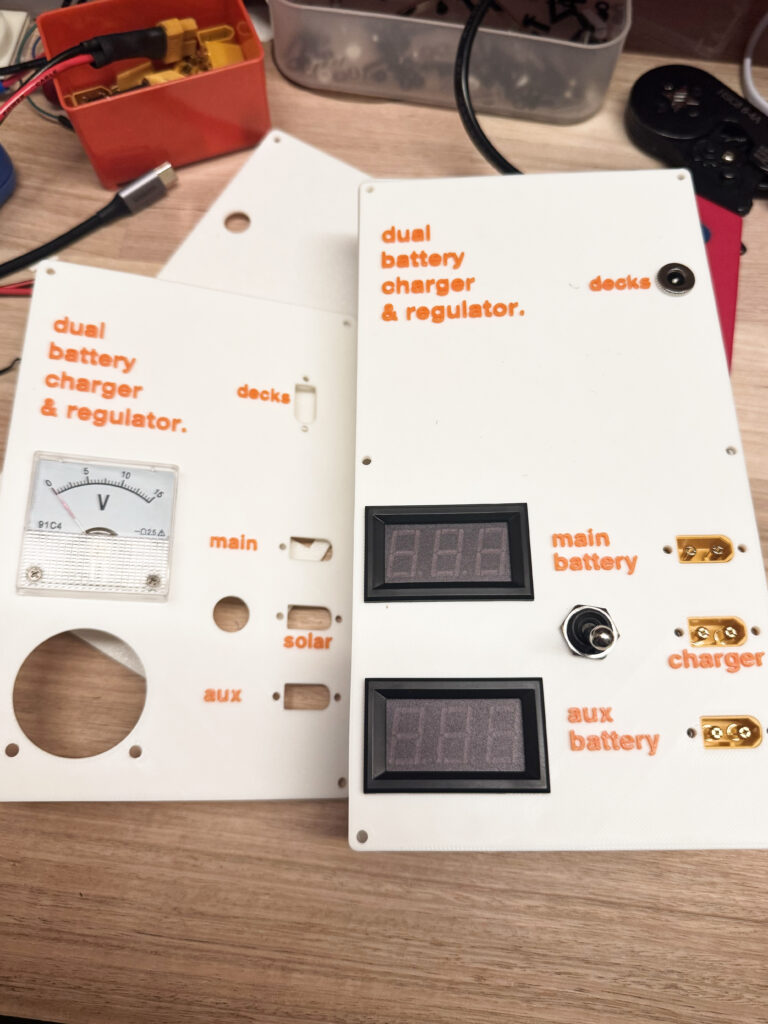
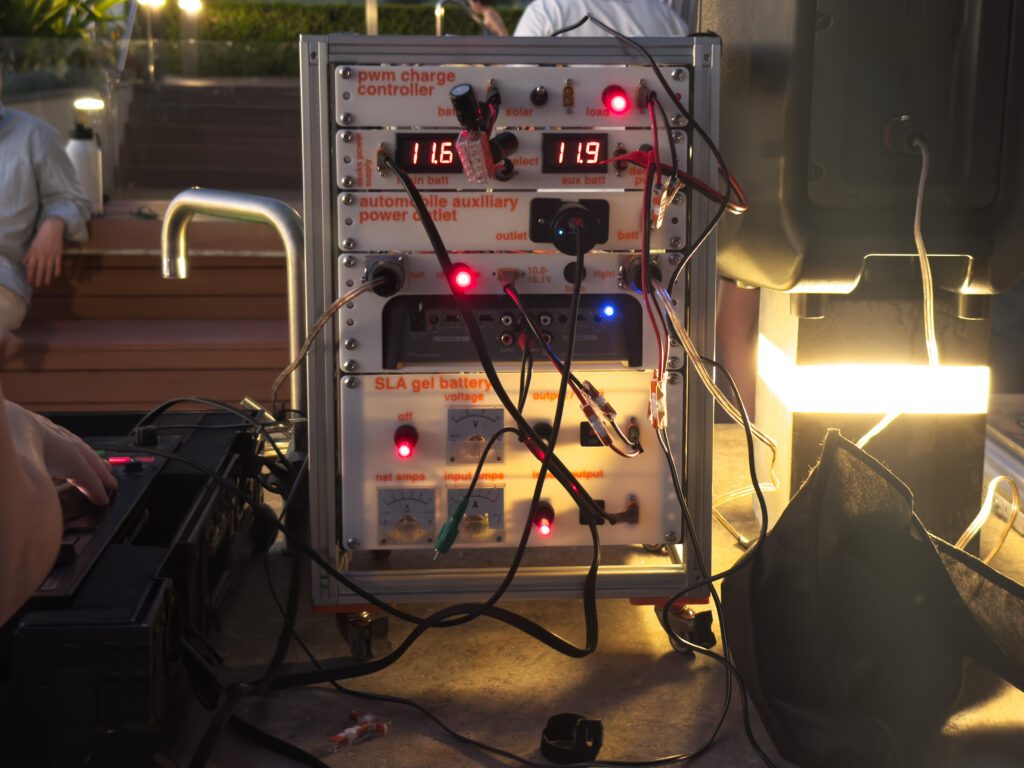
- 3U battery terminals
- 2 inputs / outputs, fused at 10A
- analog panel meters for voltage (good to spot ripple) net power consumption and charging current
- 1U 12v (car charger output)
- great for a USB-C PD charger for a laptop running Rekordbox
- 1U decks power supply
- DC-DC buck boost converter (12v output) for Pioneer FLX-10
- 1U solar charger
- Victron BlueSolar PWM Charge Controller 12/24V 20A